


In this short article, I'm going to elaborate on the basics of AWS Cognito and implement signup & sign-in flows (managing user pools) using Node.js.
Amazon Cognito, in a few words, is a fully managed identity and user management service provided by Amazon Web Services (AWS).
Amazon offers a couple of services under the free tier, Cognito is one of them as of the time I'm writing this (10/10/2023) - they allow you to have up to 50K monthly active users).
Core concepts
To make things easier: Cognito does authentication (who the user is) and authorization (what the user can have access to).
Cognito offers two main services: User Pools for managing user identities and Identity Pools (Federated Identities) for granting permissions to AWS resources.
User pools
Where you manage your user and its attributes (data - like email, age, address, and any other custom attribute you want to store).
Example: when the user signs up to access your application, you render a form asking for the user's data like:
username
email
age
password
....
This composes a user identity (authentication), which will represent this user in a User Pool.
Identity Pools (or Federated Identities)
Cognito supports identity federation, which means you can integrate Cognito with other identity providers (social sign-in like Google, TikTok, X, and other platforms) and grant users access to AWS resources based on their identity.
We're not going to focus on that for now (perhaps in the next article).
Implementation
To manage user pools, we're going to use the lib @aws-sdk/client-cognito-identity-provider at version 3.427.0 - click here for the documentation.
We need some variables to send alongside our requests. Those are:
App Client IDandApp Client Secret- for both variables, you must register an app in your user pool (it should be under the app integration tab)AWS Regionof your Cognito serviceAWS Credentials:
Access Key IdandSecret Access Key, for both, you have to generate them using IAM - google how to do that.
I'm adding these variables through env, but feel free to manage the way you want but know that they are required.
// Cognito application credentials - points to the USER POOL
const clientId = process.env.AWS_COGNITO_CLIENT_ID;
const clientSecret = process.env.AWS_COGNITO_APP_CLIENT_SECRET;

// initiate AWS Congnito instance with your credentials
const identityProvider = new CognitoIdentityProvider({
    region: process.env.AWS_REGION,
    credentials: {
      accessKeyId: process.env.AWS_ACCESS_KEY_ID,
      secretAccessKey: process.env.AWS_SECRET_ACCESS_KEY,
    },
});

// ... the rest of my functions
I'm also instantiating IdentityProvider with these credentials.
Secret Hash
When creating, login and confirming a user, the SDK asks for a secret hash. The secret hash is a keyed-hash message authentication code (HMAC) calculated using the secret key of a user pool client and username plus the client ID in the message (reference).
const generateHash = (username: string): string => {
    // creates the KeyObject to use with `crypto.createHmac`
    const secretKey = crypto.createSecretKey(clientSecret, 'utf8');

    return crypto
      .createHmac('SHA256', secretKey)
      .update(username + clientId) // pull client id from the credentials
      .digest('base64');
}
We will be using this function in all three functions to sign up, sign in and confirm account.
Sign up
When signing up as a user, the account is registered but it still needs confirmation by the user. It can be confirmed through Admin functions, but we're going to confirm as a user, which is probably a common flow around the apps nowadays.
Very important:
For more details on the SignUp flow, check the docs here.
Here is the code to sign up:
// importations
// credentials
export const signup = async ({ email, password  }: SignupDTO) => {
  // input to create a user
  const params: SignUpCommandInput = {
    ClientId: clientId,
    SecretHash: generateHash(email),
    Username: email, // check the box below if you have doubts
    Password: password,
    UserAttributes: [
      {
        Name: 'email',
        Value: email,
      },
    ],
  };

  const data = await identityProvider.signUp(params);
  // check the response
  console.log({ data });
}
This is the output you should receive in case of success:
{
  data: {
    '$metadata': {
      httpStatusCode: 200,
      ... metadata ...
    },
    CodeDeliveryDetails: {
      AttributeName: 'email',
      DeliveryMedium: 'EMAIL',
      Destination: 'k***@d***'
    },
    UserConfirmed: false,
    UserSub: 'a4b87418-a0f1-70ca-48e7-f4ec9c6dff0f'
  }
}
Use temp-email to test this signup flow and also to be able to confirm the password with the code that AWS will send.

Account Confirmation flow
As I mentioned, the account is registered but pending confirmation by the user.
The user will receive a confirmation code in the email provided, which they will use to confirm their account.
You then can use this code to confirm your account.
// importations
// credentials
export const confirm = async ({ confirmationCode, email }: ConfirmSignupDTO) => {
  // input to confirm the account
  const params: ConfirmSignUpCommandInput = {
    ClientId: clientId,
    ConfirmationCode: confirmationCode,
    Username: email,
    SecretHash: generateHash(email),
  };

  const data = await identityProvider.confirmSignUp(params);

  // check the response
  console.log({ data });
}
This is the output you should receive in case of success:
{
  '$metadata': {
    httpStatusCode: 200,
    ... metadata ...
  }
}
You should also be able to check the status of this specific account on Cognito's dashboard:

Sign in
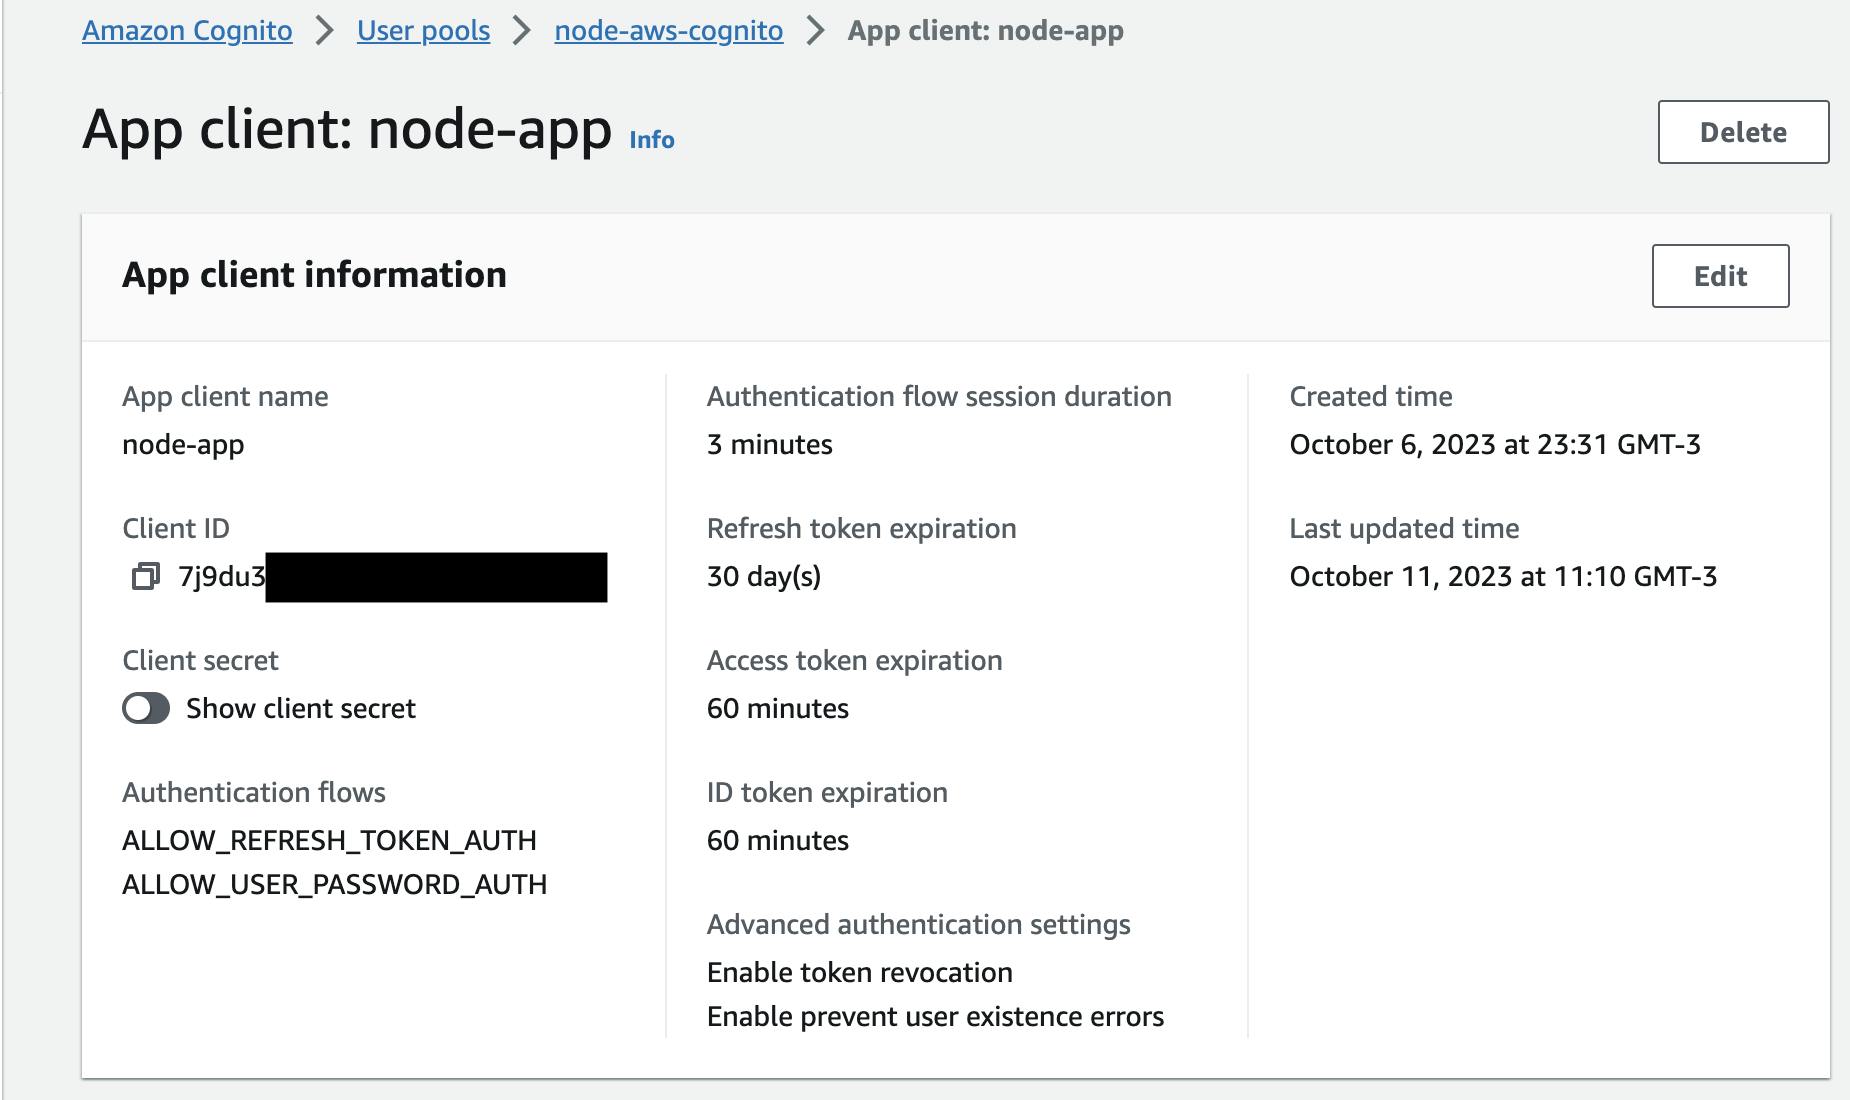
First of all, it is important to allow the ALLOW_USER_PASSWORD_AUTH in the app you've integrated with Cognito. Just make sure that the app credentials you're using have this flow enabled.
To sign in, here's the example code:
// importations
// credentials
export const signin = async ({ email, password }: SigninDTO) => {
  // input to auth
  const params: InitiateAuthCommandInput = {
    AuthFlow: 'USER_PASSWORD_AUTH',
    ClientId: clientId,
    AuthParameters: {
      USERNAME: email,
      PASSWORD: password,
      SECRET_HASH: generateHash(email),
    },
  };

  const data = await identityProvider.initiateAuth(params);

  console.log({ data });
}
This is the output you should receive in case of success:
{
  data: {
    '$metadata': {
      ... metadata ...
    },
    AuthenticationResult: {
      AccessToken: '...',
      ExpiresIn: 3600,
      IdToken: '...',
      RefreshToken: '...',
      TokenType: 'Bearer'
    },
    ChallengeParameters: {}
  }
}
Now your user is authenticated and you can use this credentials in the next requests.
Conclusion
Cognito offers a whole service to help you handle authentication and authorization. In this article, we covered the basics with the signup, sign in and confirm account flow.
I'll be sharing more information about Cognito, feel free to follow my blog! I am happy to share this knowledge with you.